Sealing integrity is a crucial factor in plastic bottle manufacturing, ensuring that the product inside remains protected from contamination, leakage, and environmental exposure. One of the most effective and straightforward methods for detecting leaks in plastic bottle seals is the Bubble Emission Test.
This test is widely used across industries such as pharmaceuticals, food & beverages, and cosmetics to ensure airtight seals and high-quality packaging. Below, we’ll dive into the details of the Bubble Emission Test, how it works, and why it’s an essential part of quality control in packaging.
What is the Bubble Emission Test?
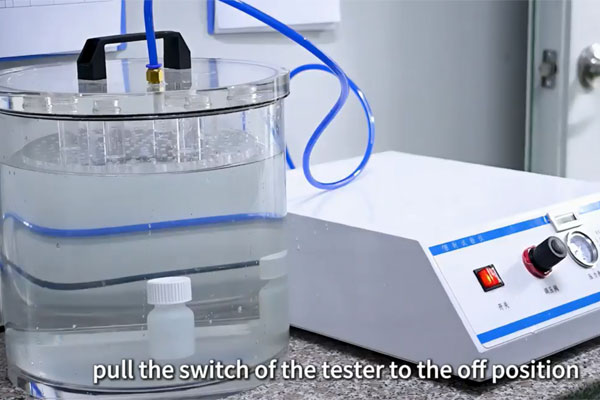
The Bubble Emission Test is a non-destructive or destructive testing method used to detect leaks in sealed plastic bottles. The test works by submerging a sealed bottle in water and applying either vacuum pressure or direct air pressure to check for escaping bubbles, which indicate leaks or poor seals.
This method is particularly useful for identifying pinhole leaks, cracks, or weak seals that might not be visible to the naked eye.
How the Bubble Emission Test Works
The Bubble Emission Test is conducted using the following steps:
Step 1: Sample Preparation
Select a sealed plastic bottle from the production line.
Ensure the bottle is free from external dirt or debris that may interfere with the test results.
Step 2: Submerging the Bottle
Fill a transparent water tank or container with enough water to completely submerge the test bottle.
Place the plastic bottle into the water.
Step 3: Applying Pressure
There are two common methods to introduce air pressure into the bottle:
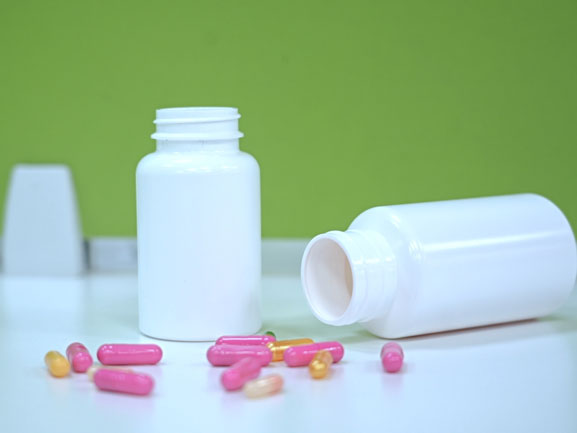
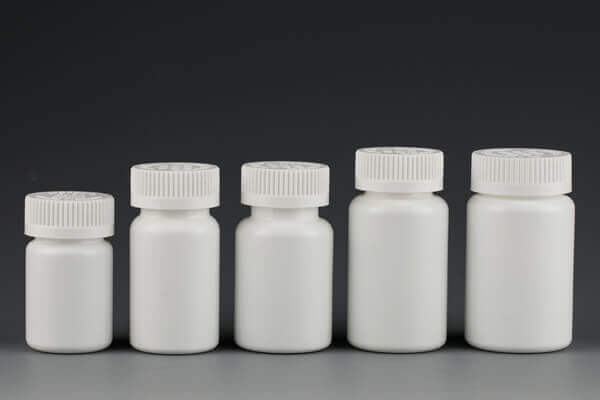
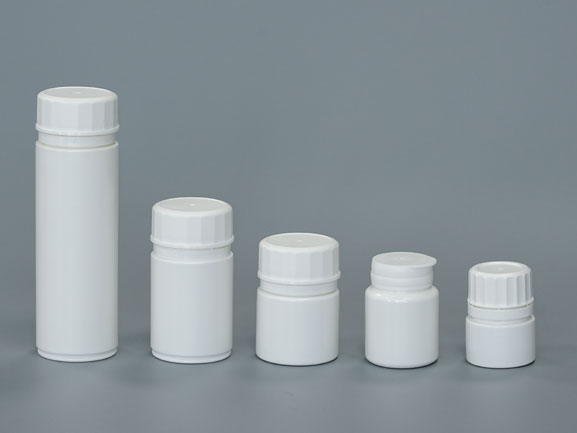
HDPE pill bottle
Vacuum Chamber Method
The bottle is placed inside a vacuum chamber filled with water.
A vacuum is applied to create pressure differentials, forcing air inside the bottle to escape if there is a leak.
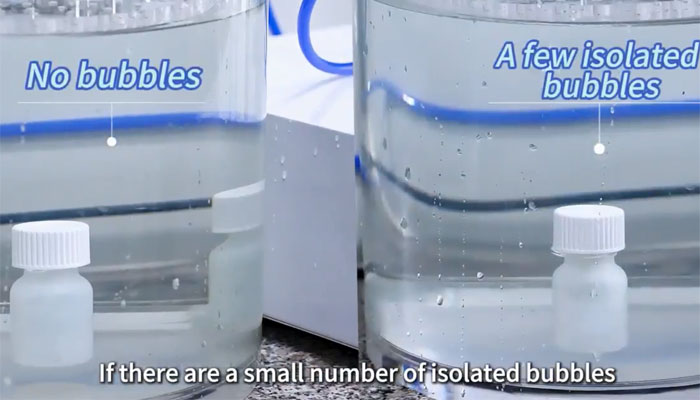
If the seal or the bottle is compromised, air bubbles will be seen escaping from the defect location.
Direct Air Injection Method
A nozzle or probe is inserted into the bottle to pressurize it with air.
If there is a leak, air will escape through the defect, producing bubbles in the surrounding water.
Step 4: Observing Bubble Formation
If bubbles continuously escape from the sealed area or body of the bottle, it indicates a leak.
If no bubbles appear, the seal integrity is confirmed as intact.
Step 5: Recording and Analyzing Results
Bottles that fail the test are removed from the production line for further inspection.
Depending on the failure rate, production settings may need to be adjusted to improve the sealing process.
Why Use the Bubble Emission Test?
✅ Simple and Cost-Effective
Requires minimal equipment: just a water tank and a vacuum pump or air injector.
Quick and easy to perform compared to more complex testing methods.
✅ Highly Visual
The presence of bubbles provides an immediate and clear indication of leaks.
✅ Effective for Small Leaks
Detects micro-leaks and pinhole defects that might otherwise go unnoticed.
✅ Non-Destructive Option Available
If using a vacuum chamber, the test can be performed without damaging the bottle (useful for expensive pharmaceutical or cosmetic packaging).
✅ Applicable Across Industries
Pharmaceuticals: Ensures sterility of medication bottles.
Food & Beverages: Prevents spoilage due to air/moisture entry.
Cosmetics: Avoids leaks in liquid-based beauty products.
Chemical Packaging: Ensures proper containment of hazardous materials.
Whether you are in pharmaceuticals, beverages, cosmetics, or chemicals, the Bubble Emission Test is a simple yet powerful method to verify that your plastic bottles are sealed correctly and ready for the market.
